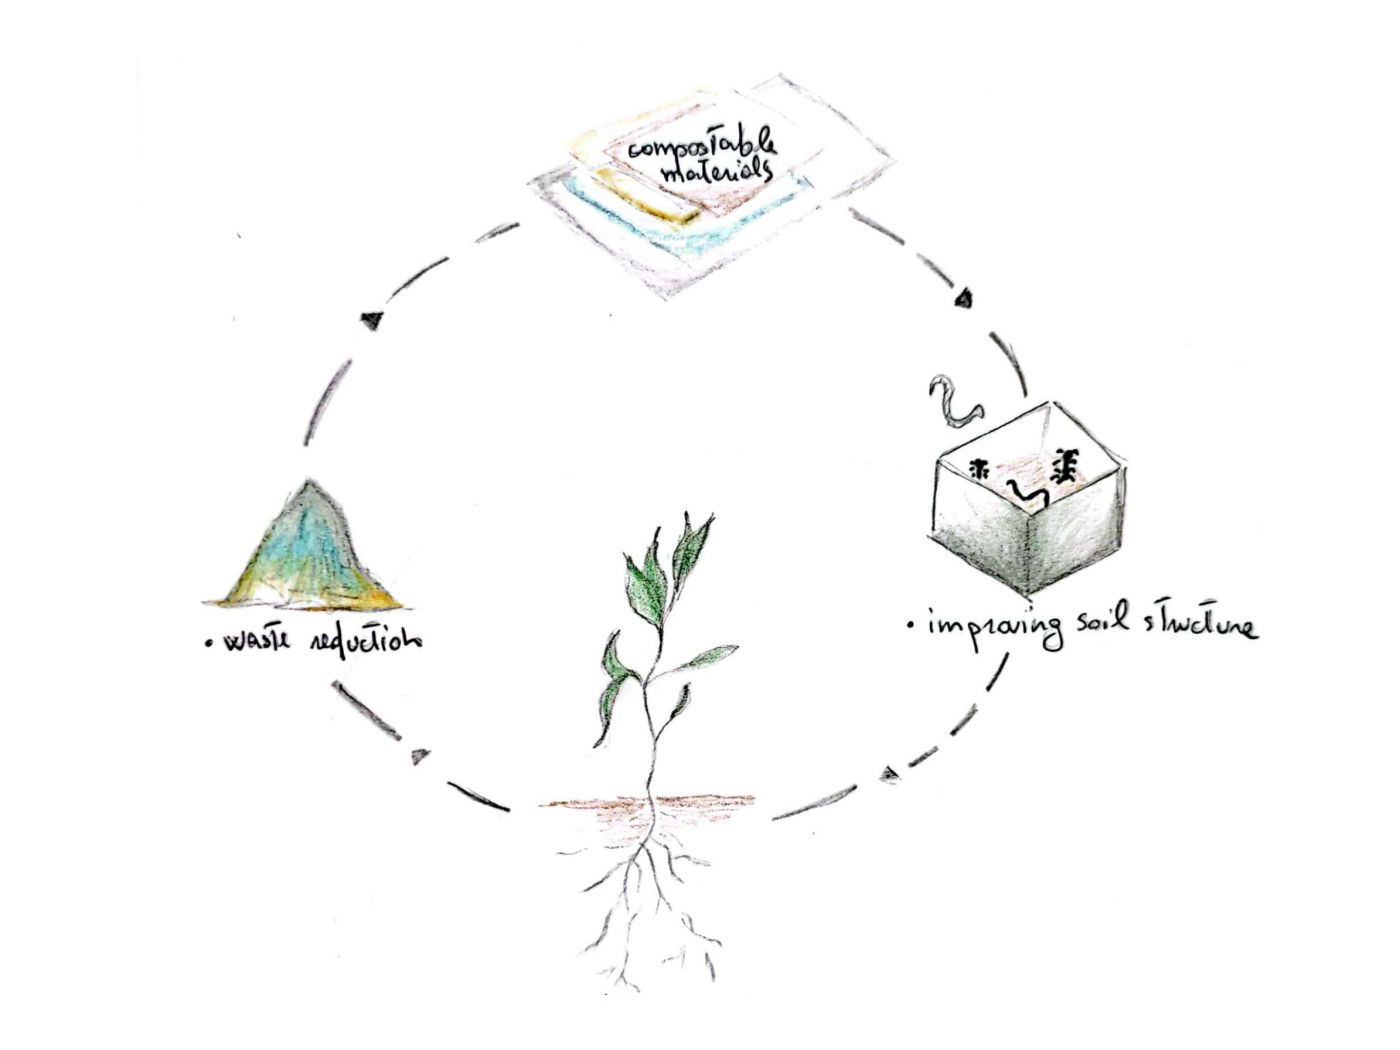
In design, and especially in design schools, we often focus on how things are created — but it’s just as important to consider what happens when materials reach the end of their life. Composting is a circular system that transforms ‘waste’ into a valuable resource. In this guide, you’ll not only learn how to compost food scraps but also explore how you might compost biodegradable design prototypes, samples, or materials from your own projects.
Learning how to build a worm composter — also known as vermicomposter — is a simple way to learn more about the process and experiment with transforming organic waste into compost. It is suitable for indoor use and shared households, and it is pretty much odorless. Worms eat food scraps, garden waste, and some brown materials, and excrete a high-quality, fine-grain compost, ready for use. It is suitable for indoor use and shared households, and it is pretty much odorless. After starting it, there’s low maintenance, as worms work for you and mostly prefer to be left alone.

Our worm composter in the Living Library space
Step 1: Materials
For your home composter, we suggest to use four three containers that can be easily stacked. To give the worms enough space to work, we recommend choosing a container size of around 15-20 liters (about L30cm x W30cm x H30cm) per person or more. For larger households volumes, you may want to build several composters or create larger boxes. For our worm compost, we used terracotta flower pots.
- 1 Medium-Sized Aquarium (about 30–40 litres)
- Soil (for the worm bedding)
- Shredded Paper or Cardboard (for bedding and moisture balance)
- Aluminium Foil or Dark Paper (to block light from the aquarium)
- Green Materials (e.g., leaves, vegetable scraps)
- Brown Materials (e.g., shredded cardboard, paper)
- 500 grams of worms (e.g., 'Eisenia fetida', also known as red wigglers)
- Spray Bottle (to maintain moisture)
(!) Ideal time of year: Spring and Autumn.
Step 2: Set up the aquarium
Drill Holes: Drill small holes (about 5-10 mm) in the bottom of the top three containers to ensure good ventilation and the drainage of excess liquids. The bottom container does not need any holes.
Prepare the Lid: Drill a few small holes in the lid of the top container for ventilation. This keeps the compost airy and provides the worms with enough oxygen.
Divide the aquarium into two sections using either a piece of cardboard or a wire mesh. One side will be used for soil and worms, while the other side will be for organic materials (food scraps and plant-based materials). If using cardboard, make sure to punch small holes in it (about 5mm) to allow the worms to pass through.
(!) Cover the sides and bottom of your aquarium with aluminium foil or dark paper to keep the light out, worms prefer darkness.
Step 3: Prepare the bedding
On one side of the aquarium, add about 5-10 cm of soil add about 20 cm of soil. This is where your worms will live and start the composting process.
Place moist, shredded paper or cardboard, lightly moistened coconut coir, or old leaves in the second container as bedding for the worms. Add shredded paper or cardboard to the other side of the aquarium. This helps balance moisture levels and provides a carbon source for the worms.
Add the worms (Eisenia fetida, also called 'red wigglers') to the soil. These worms will be the core of your composting process.
Bottom layer: For a tea composter, fill the bottom container with a thin layer of gravel or sand to catch excess liquids and ensure good drainage.
Step 4: Feed the worms
Regularly check the moisture level of the composter. The bedding should feel like a wrung-out sponge. Add water if necessary or balance excess moisture by adding dry material (paper, cardboard).
Begin adding food scraps like vegetable peels, fruit skins, coffee grounds, and tea bags to the cardboard or paper side of the aquarium. Cut or shred the food waste and paper materials into small pieces to speed up the breakdown process. Avoid adding meat, dairy, or oily food.
For faster decomposition, add brown materials like shredded paper, cardboard, etc. to balance the green materials.
In our worm composter, we tried composting organic materials like bioplastic, wool, and paper, the kinds of materials used by artists and designers. After about one month everything had already decayed.
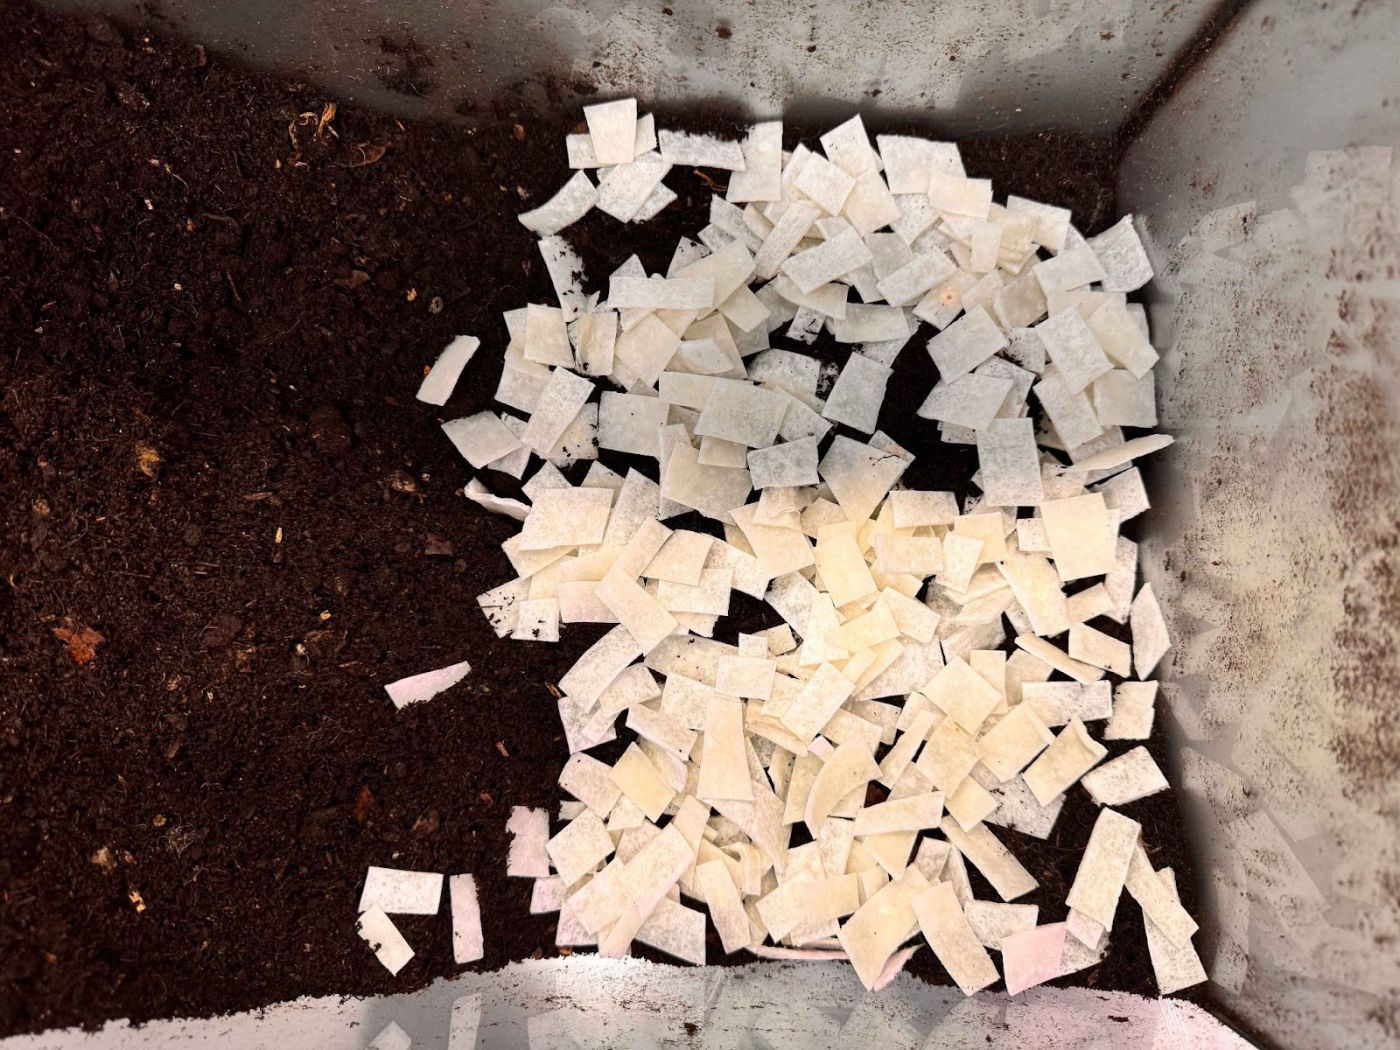
If wool is used, for example, it is important to cut it into tiny pieces using scissors. Otherwise, the worms could get stuck in the texture of the material, which could cause them to die.
Step 5: Maintain the aquarium composter
After about 3-6 months, the compost (vermicompost) is ready to harvest. The finished worm compost is dark, crumbly, and smells pleasantly earthy.
Monitor Moisture Levels: worms like their bedding moist, but not too wet. Spray water into the soil and bedding regularly to keep it like a wrung-out sponge. If the bedding becomes too wet, add more shredded paper to balance it out.
Keep the Aquarium in a Cool Warm, Dark Place: Worms prefer temperatures between 15°C and 20°C, so keep your aquarium in a cool, stable location (avoid placing it in direct sunlight).
Avoid Disturbing the Worms: Worms are sensitive to vibrations. Handle the aquarium gently and avoid disturbing them too much. If you need to check on the compost, gently lift the bedding to avoid stressing the worms.
Optional: Harvest the compost tea
If using the bottom section of the aquarium to collect excess liquids When you feed the worms with food scraps you could add a bottom section to collect excess liquids and harvest worm tea — the liquid produced by the worms. This can be used as a liquid fertiliser for plants by diluting it with water (1:10 ratio). In this case we suggest you build your composter by using wood, drilling small holes in the bottom and placing a bucket underneath.
After about 3–6 months after about one month, the compost should be ready for harvesting. Gently push the finished compost to one side of the aquarium. Add fresh food to the other side. The worms will migrate to the fresh food, making it easy to collect the finished compost.
Step 6: Reflect on your work
Keep a composting journal to note how materials decompose over time. Observe how the worms interact with different types of food scraps and materials. Which materials break down quickly, and which ones take longer?
Take notes on how materials (such as paper or biodegradable test samples from your design work) break down over time. This allows you to track which materials decompose fastest and how the worms react to different food items.
Think about how this composting method could apply to the materials you use in your design work. Could you design prototypes using more biodegradable materials, knowing they can be composted at the end of their life?
Sketch of our worm composter from Fara's notebook
Conclusion
Worm composting in an aquarium is an eco-friendly way to recycle food waste and biodegradable design materials. It also offers a hands-on approach to understanding the life cycle of materials, making it a great tool for sustainable design practice.
By observing how different materials decompose and documenting your findings, you’ll learn valuable insights that can help inform your design process, making your work more sustainable from start to finish.
Happy composting!
Further reading:
Midas Dekkers. The Way of All Flesh: A Celebration of Decay (Harvill, 2000)
Julian Doberski. The Science of Compost: Life, Death and Decay in the Garden (The Pimpernel Press, 2022)
Eric Ebeling. Composting Basics: All the Skills and Tools You Need to Get Started (2nd edition) (Stackpole Books, 2017)
Bob Flowerdew. Composting: Bob’s Basics (Skyhorse, 2012)
Guus Kaandorp, Floor Kortman, Lou-Lou van Staaveren. Pleasant Place 3: Compost (Pleasant Place, 2023)