The first rule, ‘Everything must become compost’, defines one of the core principles of the Living Library. It required that all materials collected, harvested, and processed within the project had to be fully compostable through worm composting, ensuring that, after use, they could re-enter local cycles and return to the bioregion.
Beyond the physical context, the rule also shaped other parts of the project in a more conceptual way. While not everything can literally return to the composter, the idea of an afterlife informed every decision.
Composting was understood as both a practical method and a way of thinking. It invited a shift from design as production, to design as participation in cycles of transformation and return. Worm composting, as explored in the Living Library, reveals that material change can be both biological and educational. By inviting worms to break down organic matter, the process highlights decay as an essential part of design, reflecting on how materials degrade, what happens at their end-of-life, and how future designers might work more responsibly from origin to afterlife.
The following Compost Guide translates this principle into practice, offering simple steps for creating and maintaining a worm composter, while observing how waste becomes soil and renewal begins. To study the compost process in detail and observe the worms, the compost guide uses a aquarium (preferably second-hand).
Tools and materials
- A second-hand aquarium. Pick a size of 30-40 litres and make sure it has a lid that can be drilled into.
- Three pieces of cardboard or wooden panels. Pick the same sizes as the glass sides of the aquarium (you will use them to block light).
- 1-2 kg of gravel or coarse sand (for drainage and airflow).
- Shredded paper waste or cardboard.
- A few handfuls of compost (to introduce microorganisms).
- Green food: fresh fruit and vegetable scraps, coffee grounds, tea leaves, grass clippings, green leaves.
- Brown food: dead leaves, shredded paper or cardboard, sawdust.
- Crushed eggshells or a mineral-based soil improver.
- Approximately 500 g of Eisenia fetida (red wigglers).
- Spray bottle.
Build the composter
- If the lid of the aquarium does not let air through, drill 5-10 small ventilation holes (3-5 mm) and cover them with a fine mesh or breathable fabric to prevent flies from entering. If the lid is solid glass, replace it with a lid made of cardboard or wood (and do not forget to add the ventilation holes).
- To block light, cover three of the four glass sides of the aquarium with cardboard or wooden panels. Leave one side open so you can observe the worms.
- Add 1-2 cm of gravel or coarse sand to the bottom of the composter for drainage.
- Combine shredded paper or cardboard with compost to make the bedding. Spray with water until the mixture feels damp. Fill the aquarium to about one-third of its height.
- Place the worms gently on the bedding, they will start to dig down after a few minutes.
- Allow the worms two to three days to settle before adding any food. This helps them adjust to the new environment.
Once you have some experience, along with the bedding, you can start adding materials like paper pulp, mycelium, wool, or compostable bioplastics to experiment. You may also insert a perforated piece of cardboard (with ~5 mm holes so the worms can move through it) standing up in the middle of the box, creating two equal parts of bedding with a wall in between. This allows you to place the composting material on one side and the fresh bedding on the other.
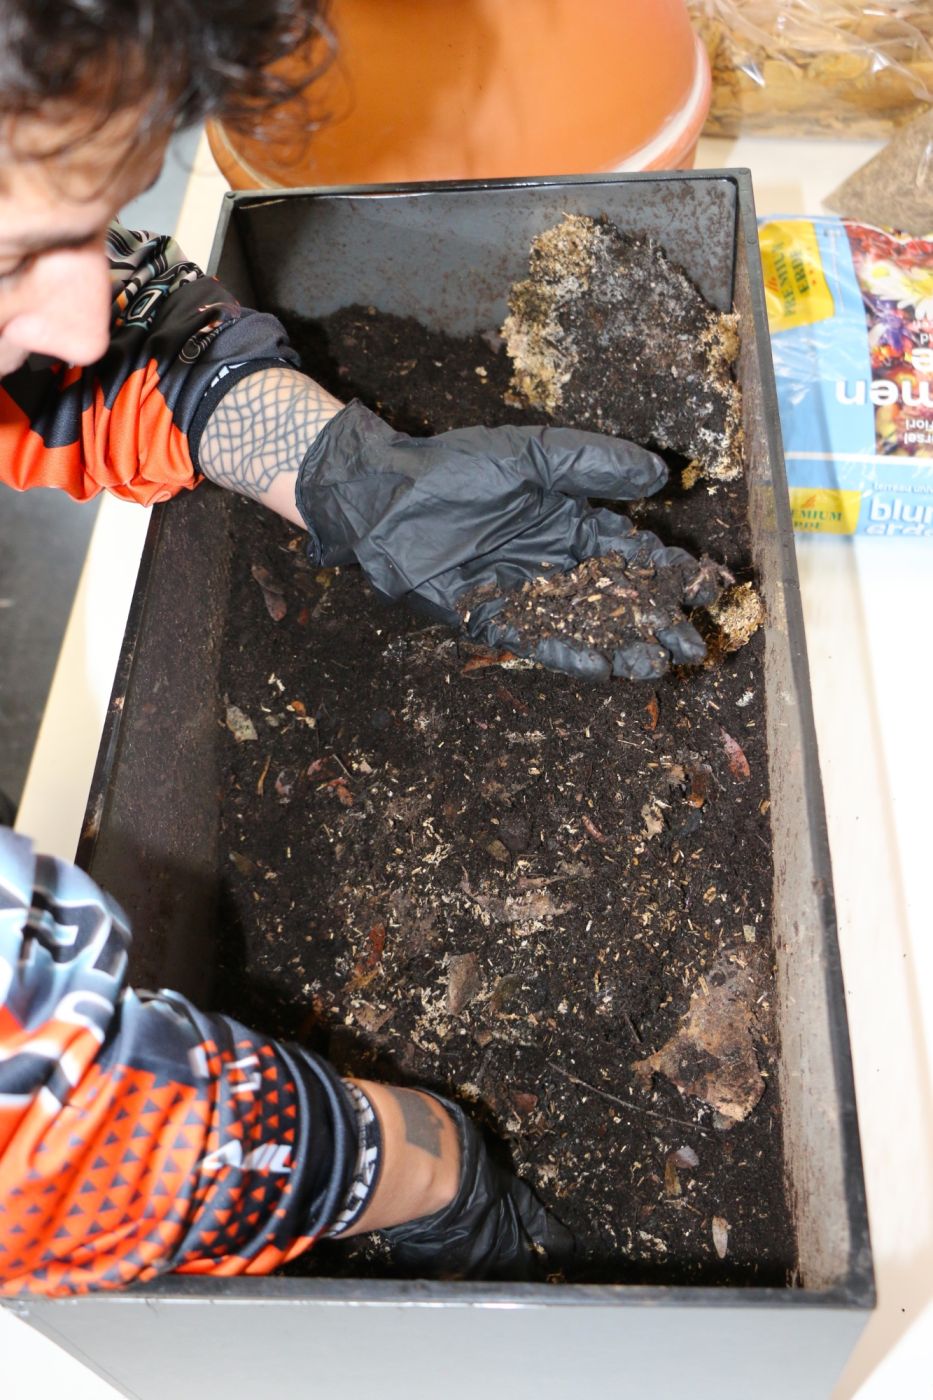
Fara working on the worm composter.
© Bio Design Lab / Living Library
Create the right environment
- Keep the composter in a dark environment.
- Maintain a temperature between 15 and 25 °C. Indoors or shaded outdoor areas are suitable during spring and autumn. Protect from frost, overheating, or direct sunlight.
- The bedding should remain moist, never dry or wet. Check this every few days and spray with water if it feels dry. Mix in dry cardboard if the bedding feels wet or starts to smell.
- Gently loosen the upper layers every few weeks to prevent compaction and ensure air flow.
- Keep the composter away from sources of noise or vibration, worms are sensitive to disturbance.
Feed the worms
- Add food (vary between greens and browns) in small amounts several times per week. Keep a ratio of two parts food waste to one part shredded paper or cardboard. Chop or tear the food into small pieces to speed decomposition.
- Use fruit and vegetable peels, coffee grounds (no more than one-third of total food volume), old bread, and wilted flowers.
- Do not use citrus fruits, onions, garlic, meat, dairy, cooked food, and glossy or coated paper. Also, avoid oily, spicy or salty foods.
- After the food, add a thin layer of bedding
Monitoring which kinds of food decompose the fastest and how the worms respond helps you to understand what they do and do not like.
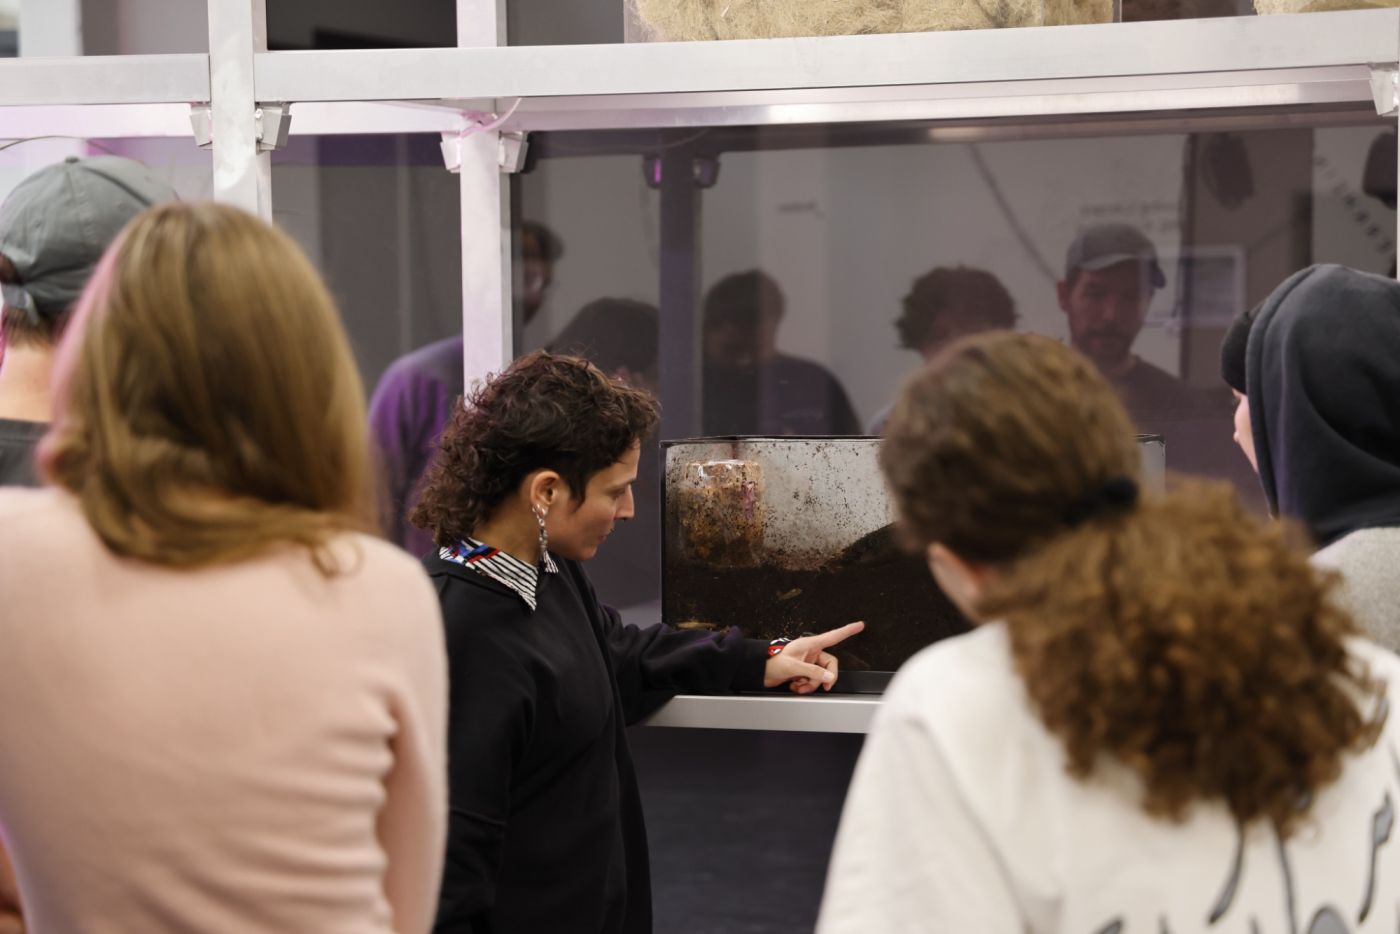
Fara working on the worm composter.
© Bio Design Lab / Living Library
Monitor the composting process
- Healthy worms are active and reddish-brown. If they cluster at the surface or along the sides, the conditions may be too wet, acidic or warm. Try to adjust the bedding and the kinds of food you add.
- A healthy composter smells earthy. Sour or rotten odours are a sign of too much moisture or food. If this happens, stir gently with your hands and add new bedding.
- To test the moisture level, take a handful of the composting matter, gently remove the worms and squeeze it lightly. It should feel damp (like a wet sponge) and should not drip. Spray on more water if it feels too dry, or add shredded cardboard if it feels too wet.
- Maintain a neutral pH level (acidity) by adding crushed eggshells or a mineral mix once per month.
Harvest the compost
After 8-12 weeks, the compost will appear dark, crumbly, and earthy.
- Gently push the finished compost to one side and add fresh bedding and food to the other to encourage the worms to move over.
- After giving the worms 1-2 weeks to move to the fresh bedding, collect the finished compost by hand. Add any large undecomposed pieces to the fresh bedding.
Use the compost
When the compost is collected, you can add it to your garden. For potted plants or seedling trays, dilute the compost by mixing 1 part compost with 10 parts soil. Compost is rich in nutrients and improves soil structure while reducing the need for synthetic fertilisers.
Each completed cycle reaffirms the Living Library’s guiding principle: materials never end, they transform. Through the quiet labour of worms, discarded matter becomes fertile ground for new growth, closing the loop between use, decay, and renewal.
Personal note by Fara Peluso:
As composting progresses, it is also beneficial to embrace some theoretical inquiries, asking, for example, how compost can be engaged as a pedagogical performance? How can the worms become mentors, teaching lessons that go beyond this methodology? In the next essay, composting is explored under philosophical and holistic lenses, opening the practice to new ways of coexisting with worms as companions and life mentors.